How to Record Better Audio on the Go
Master mic placement, defeat wind noise, and streamline your mobile recording workflow with gear and techniques that actually work in the field.

Your camera might shoot 4K, but if the audio sounds like you recorded it in a wind tunnel, nobody's watching past the 10-second mark. We've tested dozens of portable recording setups across airports, city streets, hiking trails, and coffee shops. The gap between unusable and broadcast-quality audio isn't expensive gear. It's understanding three things: where you put the mic, how you handle environmental noise, and whether your editing workflow adds friction or fixes problems fast.
Most people mount their wireless mic on their collar and wonder why every sentence gets buried under fabric rustle and wind roar. The fix isn't a better mic. It's better placement, a $6 furry windscreen, and knowing which recordings you can save in post versus which ones you should just redo.
Why Mic Placement Matters More Than Mic Quality
Distance from your mouth controls everything. A mediocre lav mic 6 inches from your face will destroy a $500 shotgun mic mounted on your camera 4 feet away. Physics doesn't care about your budget.
Lavalier mics work best clipped to your shirt about 6-8 inches below your chin, centered on your chest. Not on your collar where every head turn creates a volume spike. Not hidden under a jacket where muffled bass overtones make you sound like you're trapped in a sleeping bag. If you're wearing a t-shirt, clip it to the neckline. If you're in a button-up, attach it between the second and third button. Keep the cable loose so it doesn't transmit vibration noise when you move.
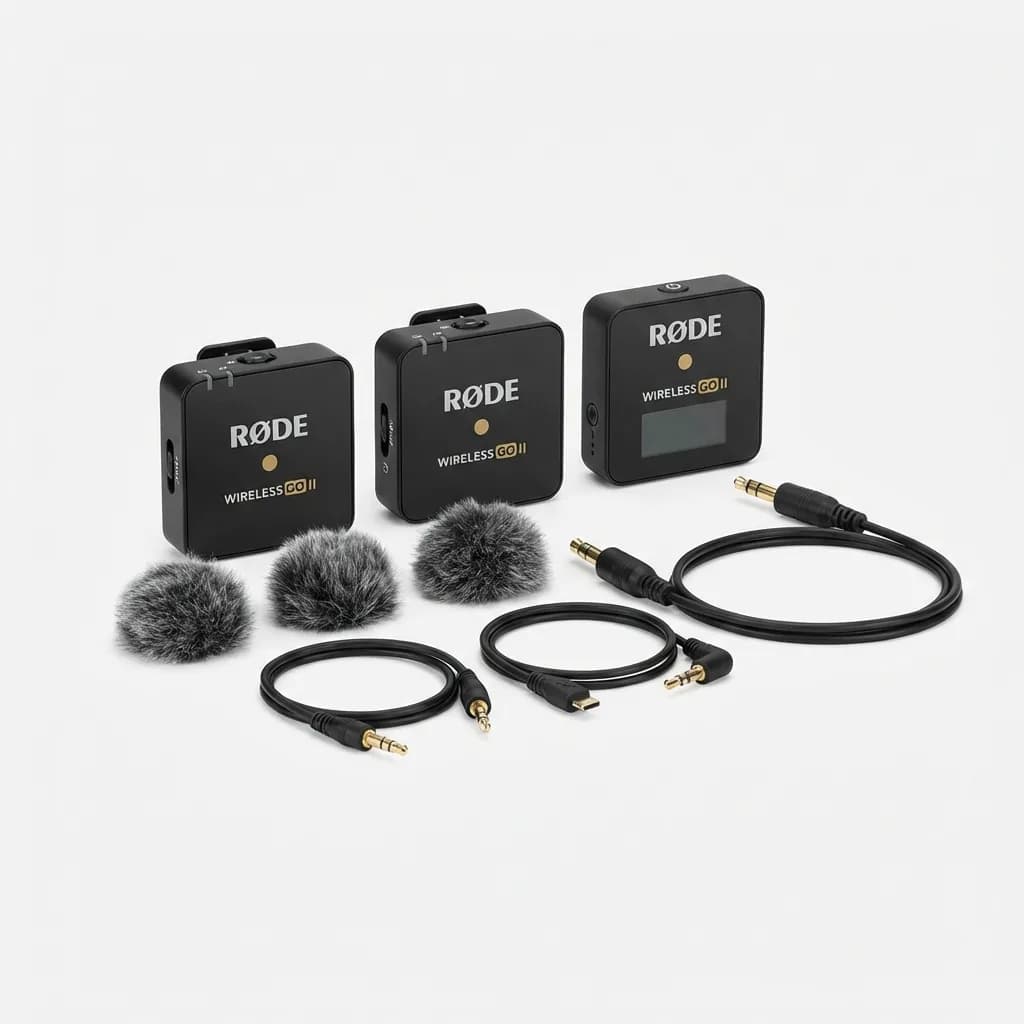
Rode Wireless GO II
$299
Dual-channel wireless system with 200m range, 7-hour battery, and built-in recording. Clips directly to clothing without needing a separate lav.
Shotgun mics need line-of-sight to your mouth. Mounting one on top of your camera works for sit-down interviews where you're stationary and facing the lens. It fails the moment you turn your head or walk while talking. If you're vlogging outdoors, handheld is better. Hold the mic just outside your frame line, pointed at your mouth from about 12 inches away. Your arm will get tired. That's the price of clean audio.
For podcasting on the move, headset mics beat everything else. The capsule stays a consistent 2 inches from your mouth no matter how you move. Background noise stays proportionally lower because the source audio is so much louder. The downside is looking like a telemarketer, which matters for video but doesn't matter at all if you're recording audio-only.
Defeating Wind Noise Without Expensive Solutions
Wind noise happens when fast-moving air hits the microphone diaphragm directly. The rustle you hear isn't actual wind. It's the diaphragm vibrating from rapid pressure changes. The solution is creating dead air space between the wind and the capsule.
Foam windscreens are worthless outdoors. They block maybe 5-10 mph of breeze before the audio turns to mush. The fuzzy covers (called dead cats or windjammers) actually work because the fur creates a boundary layer that slows wind speed before it reaches the foam and capsule underneath. A cheap $8 furry cover will handle 15-20 mph winds that would completely destroy naked or foam-only mics.
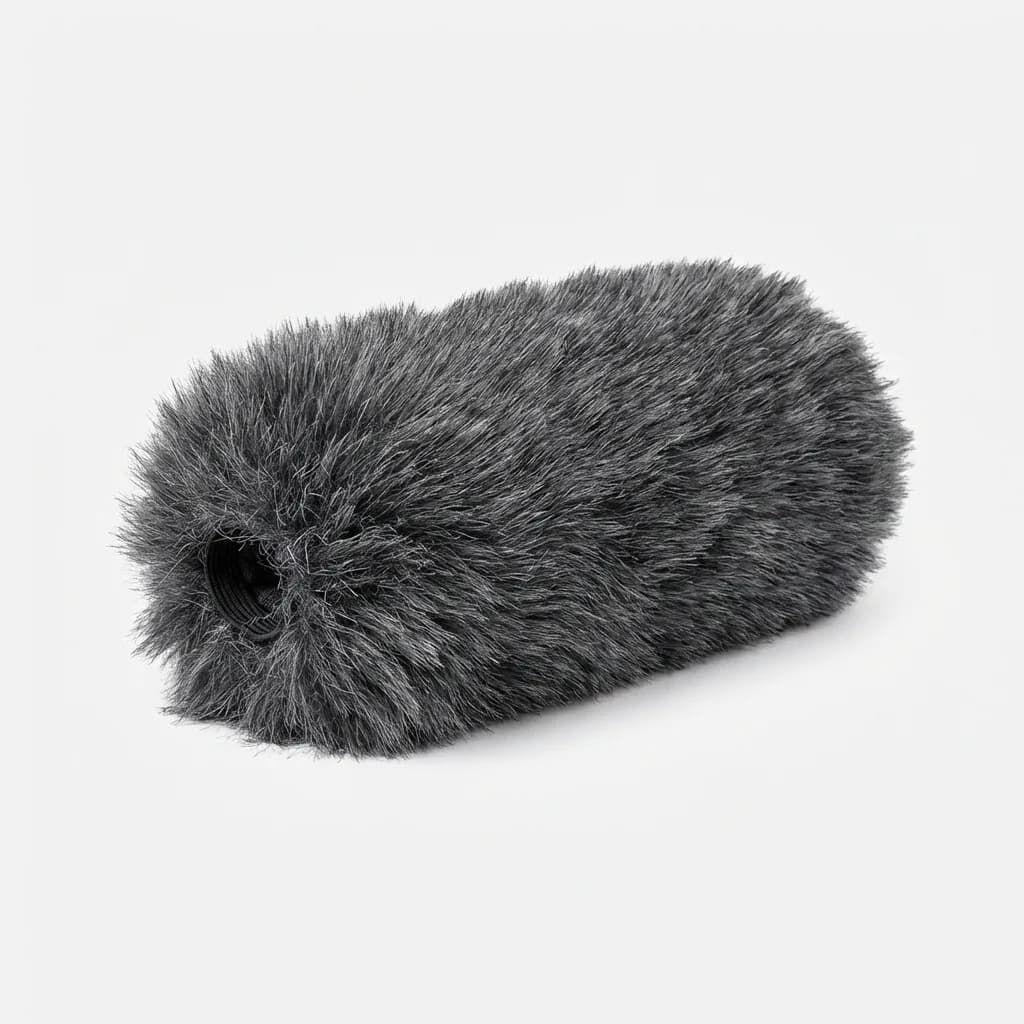
Movo WS-G10 Furry Windscreen
$13
Deadcat wind muffler for shotgun mics up to 8 inches. Handles 15+ mph winds and fits most standard shotgun microphones.
For lavalier mics, the strategy is different. You can't use a big furry cover because it'll show on camera. Instead, mount the lav inside your shirt, against your skin, with medical tape or mic tape. Your clothing becomes the windscreen. You'll get some fabric rustle, but it's fixable in post. Wind roar isn't fixable. Prioritize blocking wind over eliminating rustle.
If you're recording in a car with windows cracked, position yourself away from direct airflow. Sit in the back seat instead of the front where dashboard vents and window gaps create turbulence. If you're outside and wind is constant, turn your back to it so your body blocks direct hits to the mic. Tiny changes in position make huge differences.
What Good Mic Technique Actually Looks Like
Consistent mouth-to-mic distance keeps your volume level stable. If you move closer and farther while talking, your audio will ping-pong between loud and quiet in ways that compression and limiting can't fully fix. Park yourself at one distance and stay there.
Speaking volume matters more than you think. Talking too quietly forces you to crank gain, which amplifies background noise along with your voice. Talking too loudly causes distortion when the input level peaks. Aim for 75-80% of your maximum comfortable speaking volume. Check your levels before you start. Most recorders show you real-time input meters. You want peaks hitting around -12 to -6 dB, which leaves headroom for louder moments without clipping.
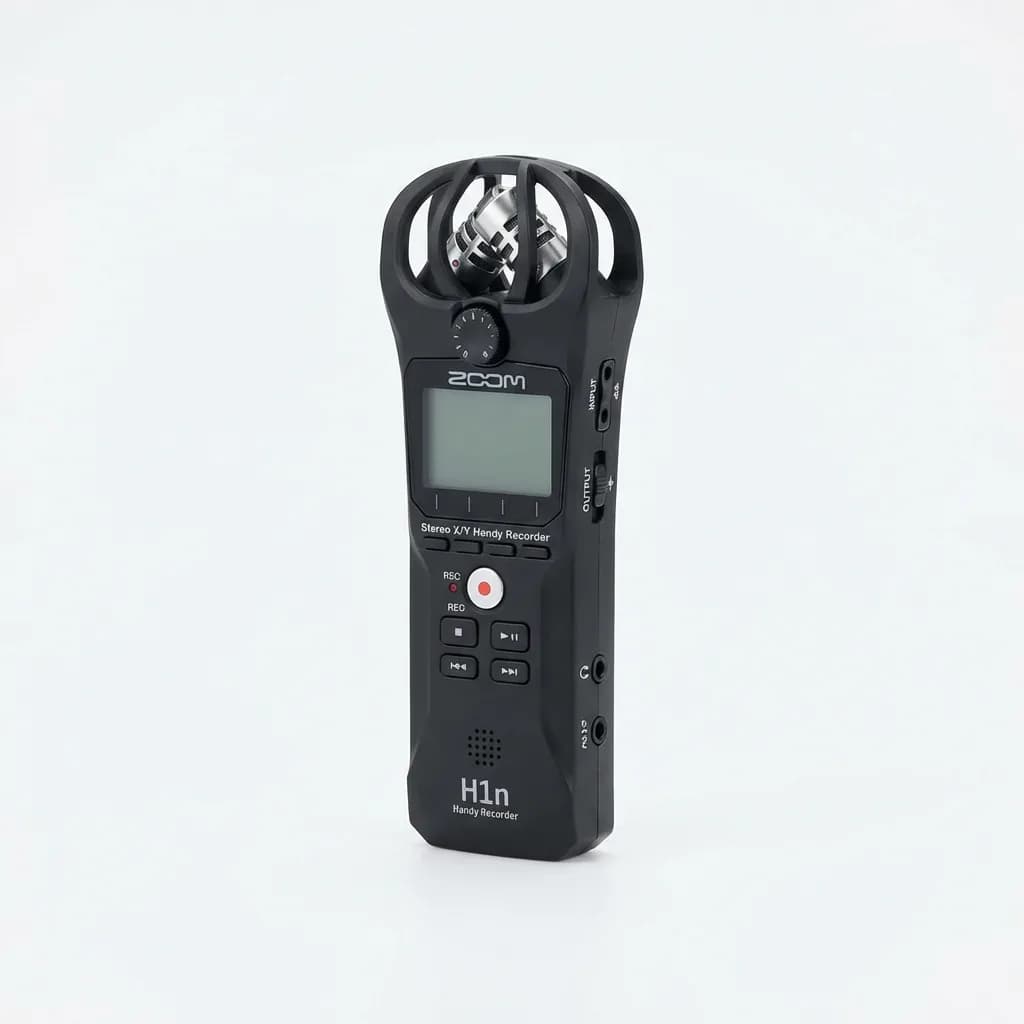
Zoom H1n Handy Recorder
$120
Compact 2-input recorder with onboard stereo mics, 10-hour battery, and backup recording mode that captures a safety track at lower gain.
Plosives (the popping sound from P and B words) happen when bursts of air hit the mic capsule. The fix is angling the mic slightly off-axis so you're talking across the diaphragm instead of directly into it. Position the mic about 30-45 degrees to the side of your mouth. You'll still be on-axis enough for full frequency capture, but plosive blasts will miss the capsule.
Handle noise comes from touching or bumping the mic during recording. If you're holding a mic, grip it firmly but don't adjust your hand position while recording. If it's clipped to your shirt, don't touch your chest or adjust your clothing. Every physical contact transmits vibration straight into the capsule.
Recording Environments You Can Fix vs. Ones You Can't
Hard surfaces reflect sound. Recording in a tile bathroom or concrete parking garage creates echo and reverb that make you sound like you're shouting in a tunnel. You can't remove reverb in post without destroying the original audio. If your location is overly reflective, move somewhere else or record closer to soft materials like grass, dirt, fabric, or your own body.
Traffic noise is fixable if it's constant and your voice is significantly louder. Noise reduction plugins can subtract steady background hum. What you can't fix is intermittent loud sounds like car horns, sirens, or a truck passing 6 feet away. If you hear something loud happening during a take, stop and redo that section. Trying to salvage it later wastes more time than just re-recording.

Shure MV7
$249
Hybrid USB/XLR dynamic mic with built-in voice isolation, touch panel controls, and headphone monitoring. Rejects background noise better than condensers.
Indoor spaces with lots of soft furniture absorb reflections and give you cleaner audio. Hotel rooms work better than lobbies. Coffee shops work if you're recording early morning before the crowd arrives. If you're stuck in a noisy location, get as close to the mic as practical and speak louder to maximize the signal-to-noise ratio.
Quick Editing Flow for Mobile Recordings
Your editing workflow should focus on fixing only what matters: volume consistency, noise reduction, and removing mistakes. Spending 30 minutes tweaking EQ on a podcast that people listen to at 1.5x speed while doing dishes is wasted effort.
Start with a high-pass filter at 80-100 Hz to remove low-end rumble. This cuts out air conditioning hum, traffic bass, and mic handling bumps without affecting voice intelligibility. Apply this first before any other processing.
Use compression to even out volume differences between quiet and loud parts. A 3:1 ratio with a medium-fast attack and release will smooth things out without sounding obviously processed. Set your threshold so the compressor is working about 50% of the time, reducing peaks by 3-6 dB.
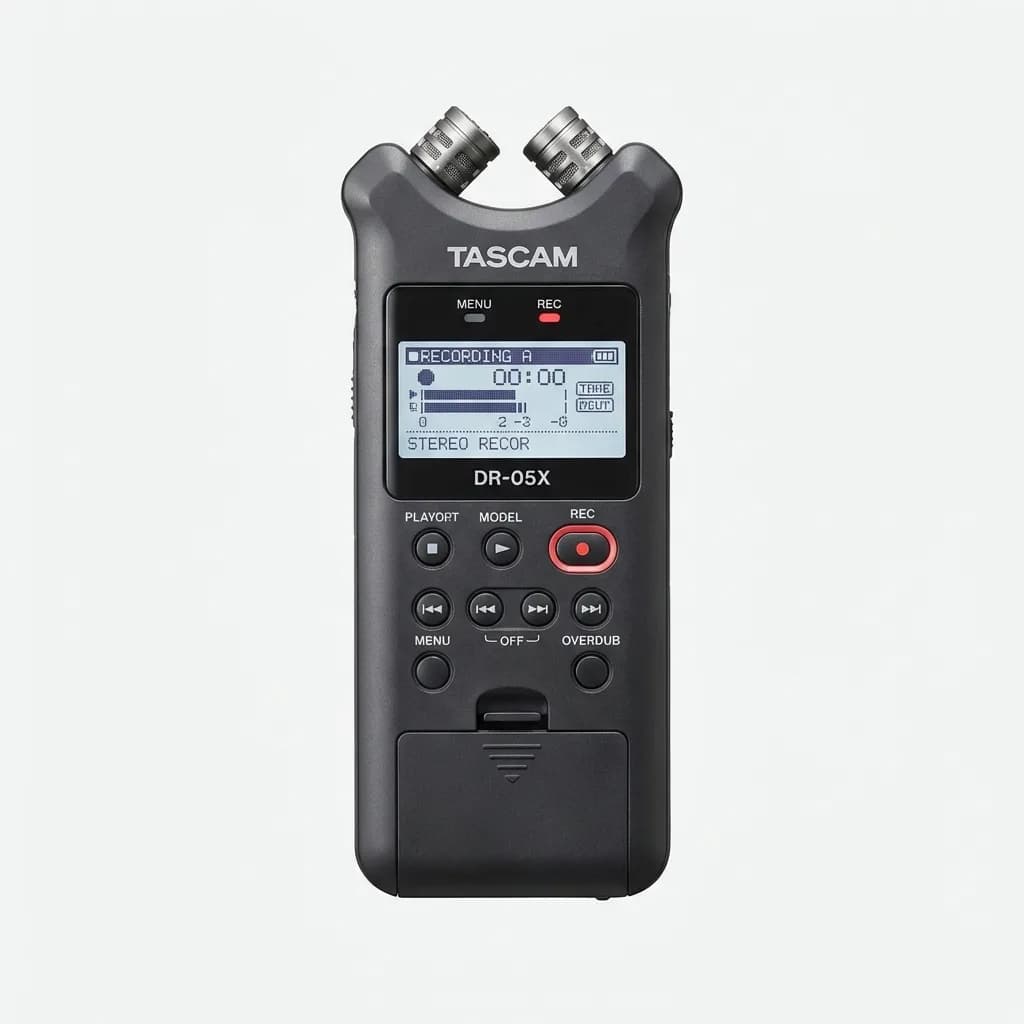
Tascam DR-05X Stereo Recorder
$99
Entry-level portable recorder with adjustable stereo mics, one-touch recording, and overdub function. Runs on 2 AA batteries for 17+ hours.
Noise reduction comes after compression. Use it conservatively. Most noise reduction plugins work by analyzing a section of pure background noise, then subtracting that profile from the entire recording. Select a 2-3 second clip where you're not talking, teach the plugin what to remove, then apply it at 30-50% strength. Going to 100% creates a warbled underwater effect that sounds worse than the original noise.
If you recorded in stereo but only used one mic, convert the file to mono before processing. This prevents phase issues and cuts your file size in half. Most people listening on phones or laptop speakers can't tell the difference anyway.
Backup Recording Strategy That Actually Saves You
Always record a safety track. Many portable recorders and wireless systems let you capture two versions simultaneously at different gain levels. The main track records at your target level. The backup records 6-12 dB quieter. If someone yells unexpectedly or you laugh too loud and clip the main track, the backup stays clean.
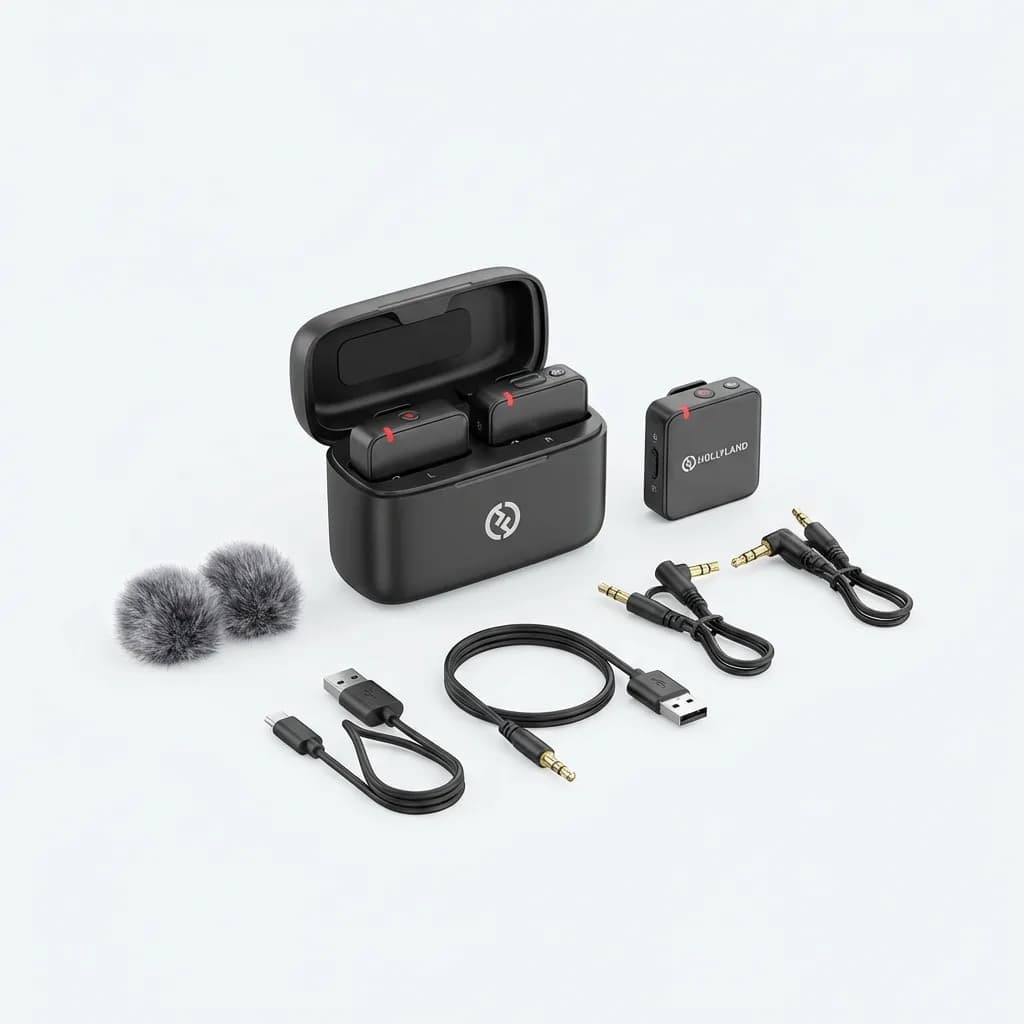
Hollyland Lark 150 Wireless Mic
$99
Ultra-compact wireless mic system with 8GB onboard storage, auto-sync recording, and 5-hour battery. Records backup audio to transmitter.
For critical recordings where you can't afford failure, use two separate recording devices. We run a wireless lav into the camera and a handheld recorder in a pocket as backup. If the wireless system drops signal or the camera audio gets corrupted, the pocket recorder saves the session. Yes, it means syncing two files in post. That takes 30 seconds. Re-recording an interview with someone who's already left the location is impossible.
Check your recordings immediately after capture. Listen to the first 10 seconds on headphones before moving on. If something's wrong, you can fix it now. Finding out 3 hours later when you're back home means the content is gone forever.
What Actually Matters for Mobile Recording Quality
Gear gets you 30% of the way to good audio. The other 70% is technique, environment selection, and knowing what's fixable versus what's not. A $100 wireless mic with proper placement and wind protection will beat a $500 mic used incorrectly.
The biggest mistakes we see are recording too far from the subject, ignoring wind protection, and trying to fix unfixable recordings in post instead of just redoing the take. If it sounds bad in your headphones during recording, it'll sound worse after editing.
Your workflow should be fast enough that you'll actually do it. If editing takes hours, you'll avoid recording altogether. Simple processing (high-pass filter, compression, light noise reduction) gets you 95% of the way to professional quality in under 5 minutes per recording.
Test your setup before the actual recording matters. Do a 60-second test in the same environment you'll be recording in. Listen back immediately. Adjust placement, gain, and wind protection based on what you hear. That 2-minute test prevents 2 hours of unfixable audio later.
The Weekly Dispatch
Enjoying this article?
Subscribe and get our best gear picks delivered every Sunday morning.
Related Stories

Best Cable Labels and Tiny Accessories for Travel
Stop digging through your tech pouch to find the right cable. These tiny labels and accessories keep travel electronics organized and mistake-proof.

Best Compact USB-C Cables for EDC
The right USB-C cable can make or break your EDC charging setup. We tested compact options for durability, length, and multi-device compatibility.
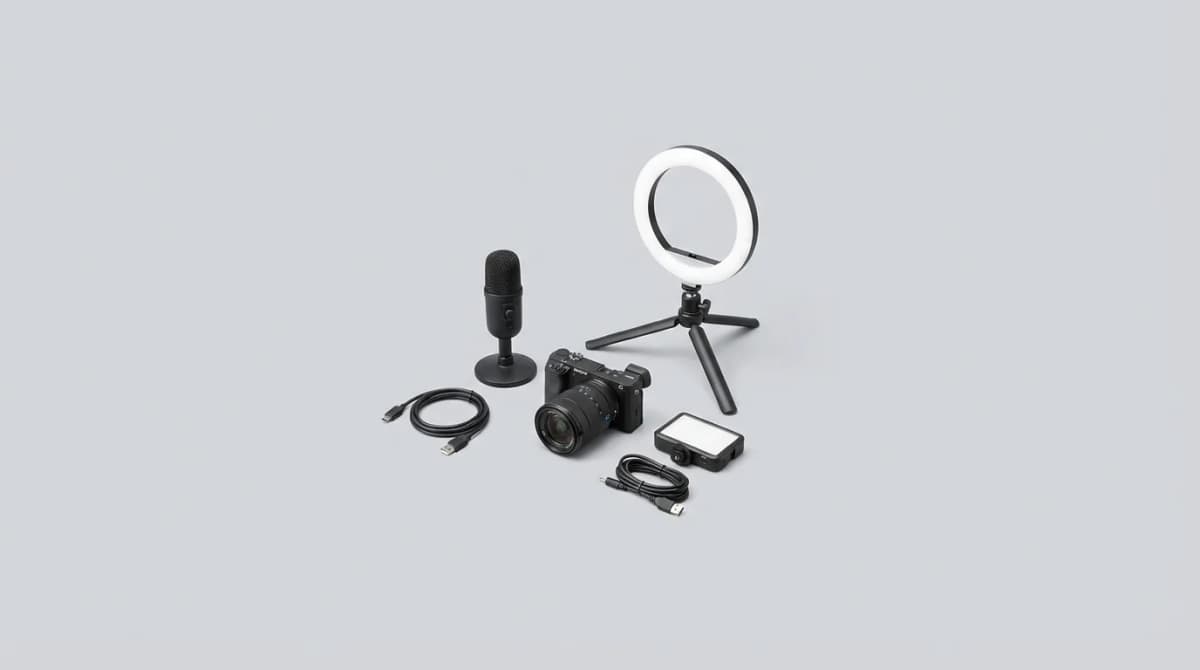
Content Creator Starter Kit: Audio, Lighting, and Cameras
Stop wasting budget on the wrong gear. Here's what actually matters for your first content setup - tested across YouTube, podcasts, and streams.