Drone Photography 101: Beginner Gear and Tips
Master aerial photography with the right drone, essential accessories, and flight techniques. Learn camera specs, legal requirements, and how to capture stunning shots.

A decent drone gets you perspectives your DSLR never will. Cliff edges, rooftop angles, tracking shots over water. But the gap between owning a drone and getting usable photos is wider than most people think. You need stable footage, legal clearance, and enough battery life to actually compose a shot before the low-power warning starts beeping.
We tested five starter drones over six months, flying in coastal wind, desert heat, and urban tight spaces. The difference between a $300 drone and a $1,000 one isn't just camera resolution. It's wind resistance, obstacle sensing, and whether the gimbal can hold steady when you're 200 feet up in 15mph gusts.
What camera specs actually matter for aerial photography
Resolution is the spec everyone checks first, but it's not the deciding factor. A 12MP sensor with a quality lens and proper gimbal stabilization will beat a shaky 20MP camera every time. What you actually need: a three-axis gimbal that compensates for pitch, roll, and yaw. Anything less and your footage will show every micro-adjustment the drone makes to stay airborne.
Sensor size matters more than megapixels. A 1/2.3-inch sensor (standard on most beginner drones) struggles in low light. You'll see noise in shadows and blown-out highlights at sunset, which is exactly when you want to fly. A 1-inch sensor costs more but handles dynamic range far better.
Frame rate determines what you can do in post. 4K at 30fps is baseline. If you want smooth slow-motion, you need 60fps minimum, preferably at 1080p. Some drones offer 2.7K at 60fps as a middle ground. Bit rate also matters - look for at least 100Mbps for 4K to avoid compression artifacts when you grade footage.
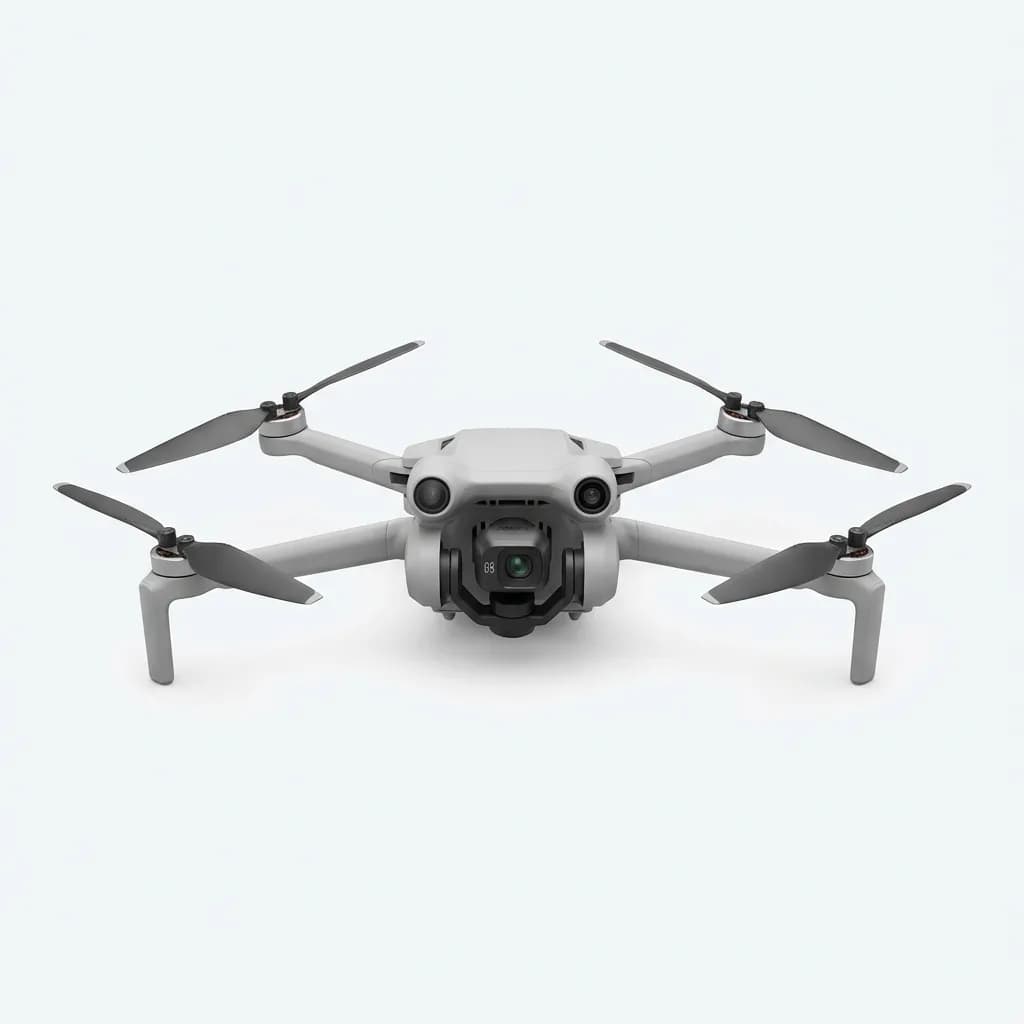
DJI Mini 4 Pro
$759
249g weight avoids registration, 4K HDR at 60fps, tri-directional obstacle sensing, 34-minute flight time. The sensor punches above its size class.
Aperture is usually fixed on beginner drones (f/2.8 is common), so you can't adjust depth of field like a real camera. You compensate with ND filters, which we'll cover in accessories. Color profiles matter too. Most drones shoot in standard color, which looks fine but doesn't grade well. If your drone offers a flat or log profile, use it. You'll get more flexibility in editing, especially for recovering highlights and lifting shadows.
Understanding drone regulations before your first flight
The FAA requires registration for any drone over 0.55 pounds (250g). That's $5, valid for three years, and your registration number must be visible on the drone. You also need to pass the TRUST test - a free online course that takes 30 minutes. It's not optional. Flying without it risks fines up to $1,100.
Airspace rules are more complex than "don't fly near airports." Class B, C, D, and E airspace all have restrictions. Class G (uncontrolled) is where most recreational flying happens, but even there you're limited to 400 feet AGL (above ground level). Download the B4UFLY app or use Aloft - both show real-time airspace status and temporary flight restrictions.
You cannot fly over people unless they're directly participating in the operation or under a covered structure. You cannot fly from a moving vehicle. You must maintain visual line of sight - FPV goggles don't count unless you have a spotter. You need to yield right of way to manned aircraft. These aren't suggestions. Local law enforcement can and will ground you if you're flagrant about it.
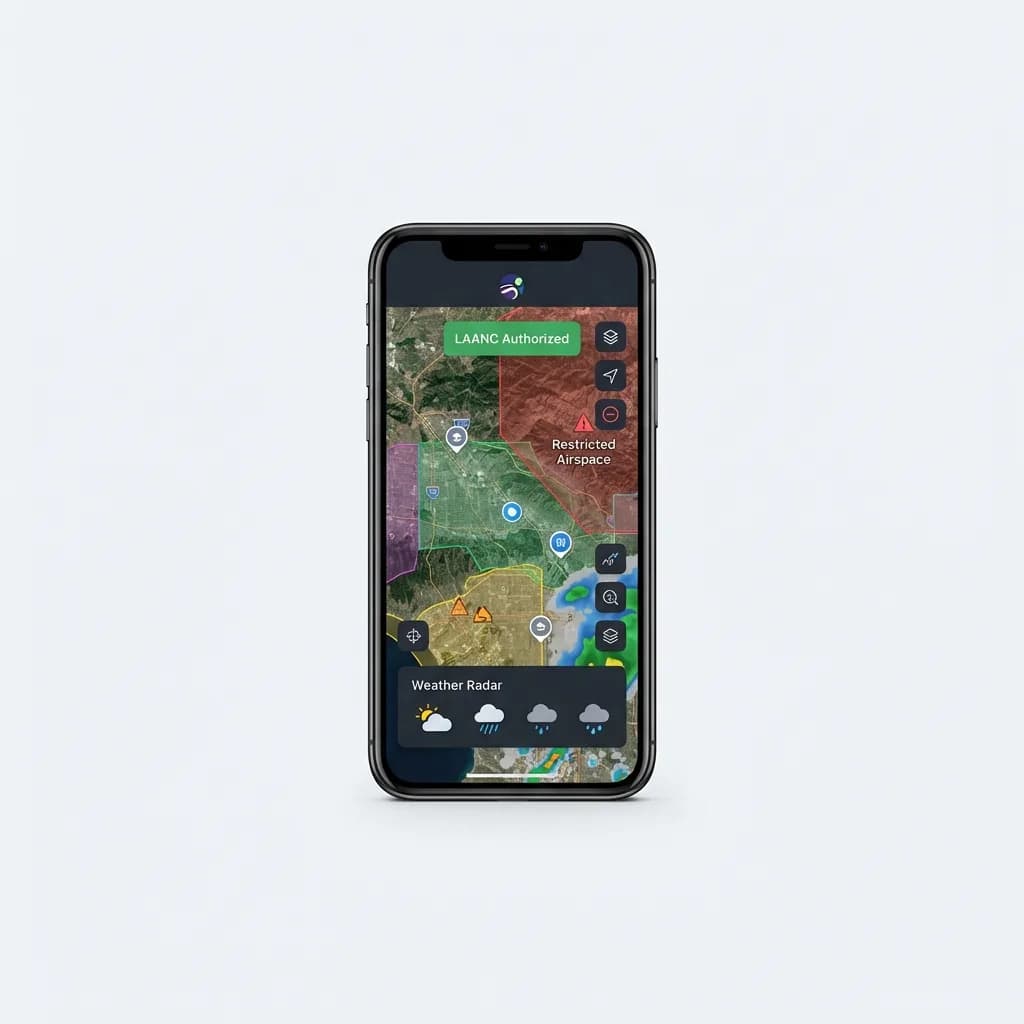
Aloft App Premium
$9.99/month
Real-time airspace maps, LAANC authorization in restricted zones, weather overlays. Essential for flying near controlled airspace legally.
Some areas ban drones outright. National parks, military bases, stadiums, and disaster zones are all no-fly. State and local laws add more restrictions - beaches, city parks, private property. Check local ordinances before you pack your gear. Getting your drone confiscated ruins the shoot.
Flight techniques that separate snapshots from composed shots
Beginners fly too fast and too high. You're not filming an action movie. Slow, deliberate movements give you time to frame the shot and let the gimbal stabilize. Most compelling aerial footage happens between 50 and 150 feet, not at max altitude. Lower altitude adds depth - foreground elements create scale and context.
The basic moves: orbit (circle around a subject), dolly (fly toward or away), reveal (rise up to show what's beyond an obstacle), and tracking (follow a moving subject). Practice each one separately before combining them. An orbit at consistent speed and radius takes more stick control than you'd think, especially in wind.
Wind is your main enemy. Anything above 20mph makes smooth footage nearly impossible on a sub-500g drone. Check wind speed at your planned altitude, not ground level. It's often 10mph faster at 200 feet. If you're fighting the controls to hold position, you're wasting battery and getting jerky footage.
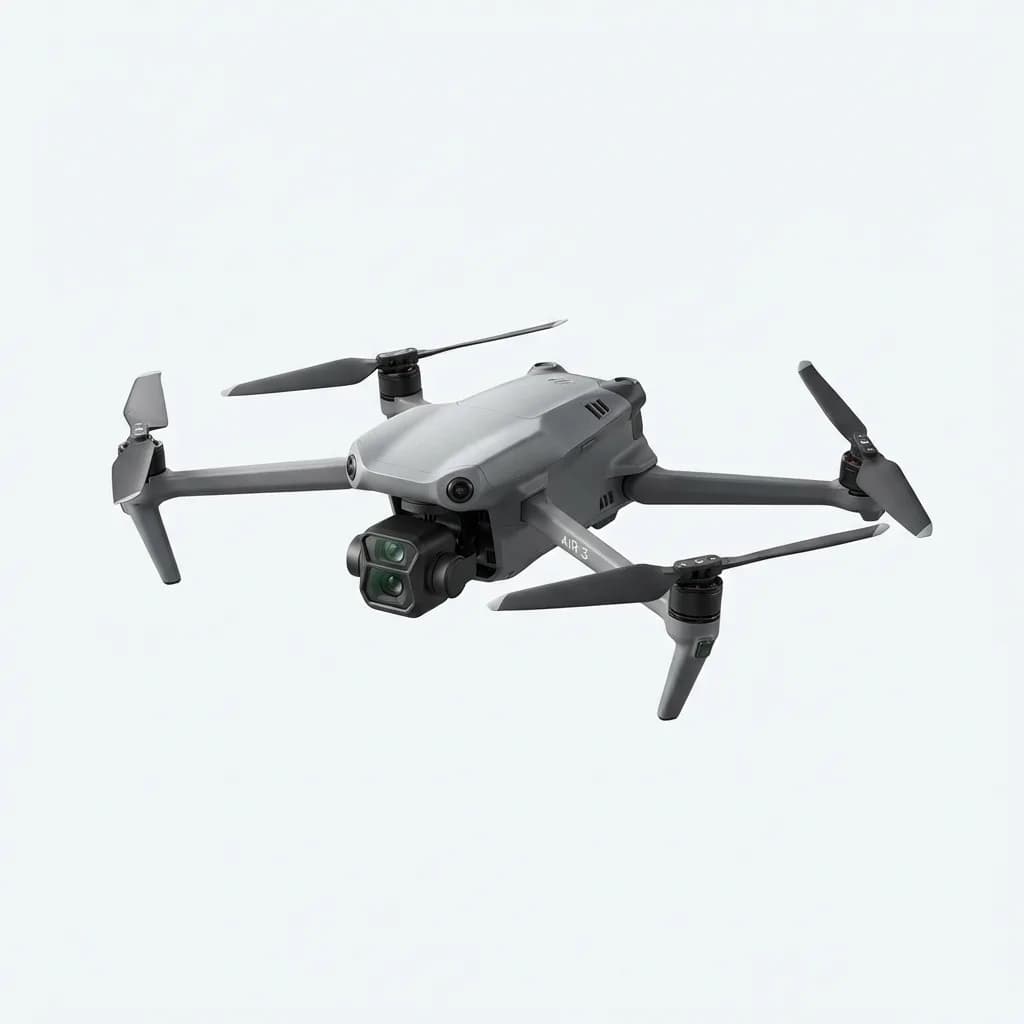
DJI Air 3
$1,099
Dual-camera system (wide and 3x telephoto), 46-minute flight time, omnidirectional obstacle sensing. The extra focal length changes what you can compose.
Manual camera settings give you consistency across clips. Auto exposure will shift as you pan across sky and ground, creating visible jumps in brightness. Lock your ISO (100 or 200 in daylight), set shutter speed to double your frame rate (1/60 for 30fps), and use ND filters to control exposure. This keeps motion blur natural and exposure stable.
Pre-flight checklist: compass calibration in new locations, gimbal calibration if you see drift, return-to-home point set (it defaults to takeoff location, but you can change it), obstacle sensing enabled, and battery above 50% before you start shooting. You'll burn 20-30% just positioning and testing shots.
How much should you spend on your first drone?
The sub-$300 category is mostly toys. No gimbal stabilization, unreliable GPS, cameras that barely hit 1080p. You'll get frustrated and quit before you learn anything. The $500-$800 range is the sweet spot for beginners - real gimbals, 4K cameras, obstacle sensing, and enough wind resistance to fly in realistic conditions.
DJI dominates this space for a reason. Their flight controllers are more stable, their app is more reliable, and their obstacle sensing actually works. Autel and Skydio make competitive models, but parts and support are harder to find. For your first drone, stick with something popular. When you crash (you will), you want cheap replacement props and readily available repair guides.
Weight is a strategic choice. Under 250g avoids FAA registration and opens up flying locations where heavier drones aren't allowed. But physics still applies - lighter drones get pushed around by wind and have smaller sensors. A 500g drone will be more stable and have better image quality, but you'll deal with more regulatory friction.

Autel EVO Nano+
$649
249g, 1/1.28-inch CMOS sensor, RYYB color filter for low light, 50MP photos, 28-minute flight. Stronger sensor than most sub-250g options.
Battery life is the hidden cost. Most drones come with one battery, which gives you 20-30 minutes of flight time. Real shooting time is closer to 15 minutes once you account for takeoff, positioning, and keeping a safety margin. You need at least three batteries to make a location shoot worthwhile. Budget $100-$150 per battery.
Essential accessories beyond the drone itself
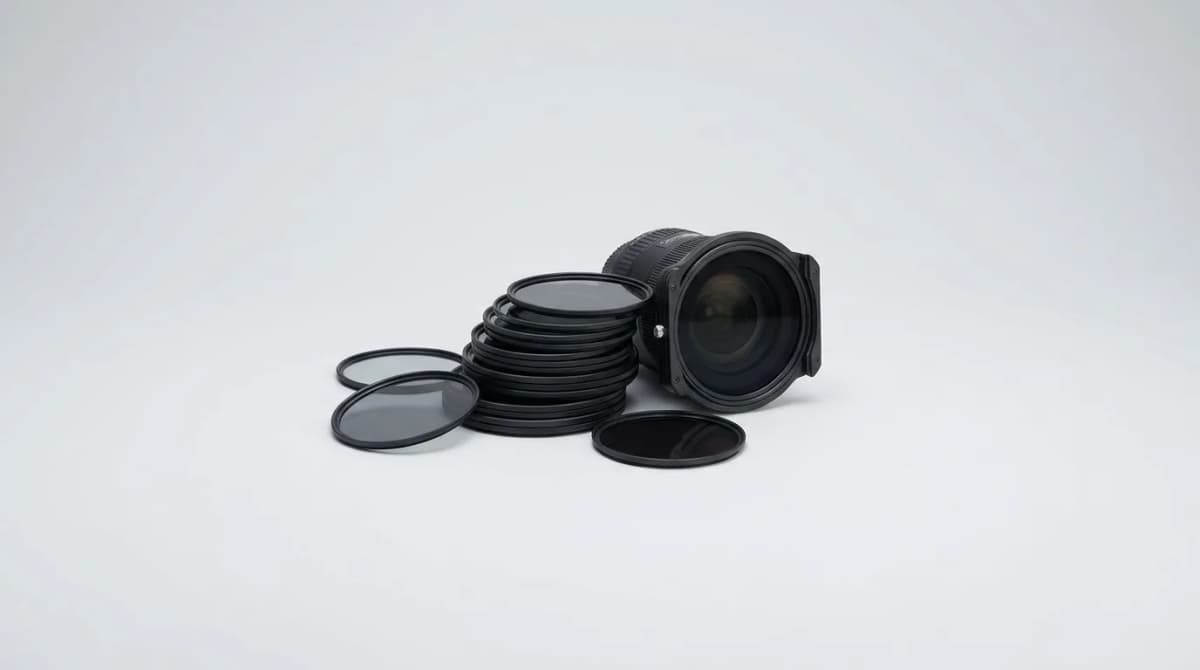
ND filters are non-negotiable if you care about footage quality. They cut light entering the sensor so you can slow your shutter speed for proper motion blur. Without them, you're stuck with a fast shutter (1/500 or higher in bright sun), which makes footage look stuttery and digital. Get a set with ND8, ND16, and ND32 at minimum.
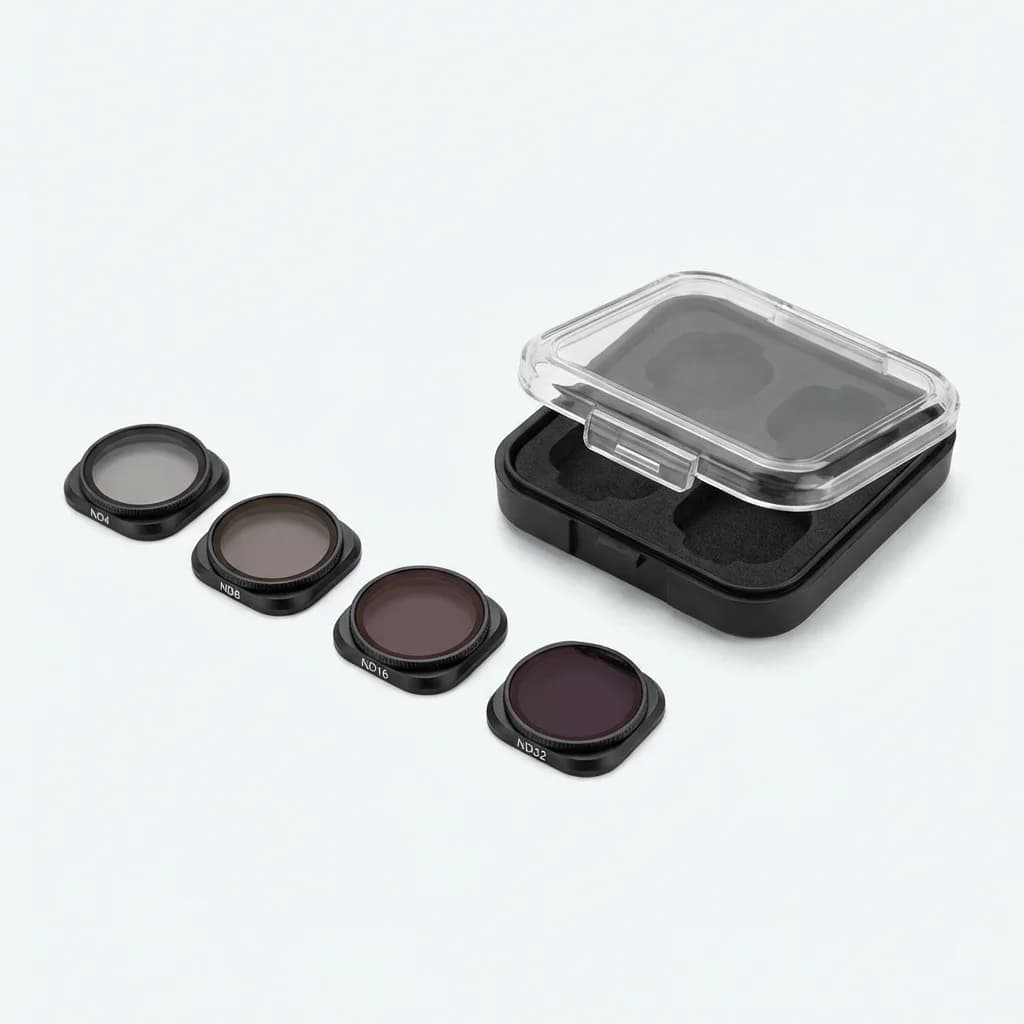
Freewell Standard Day Filter Set
$99
ND4, ND8, ND16, ND32 filters for DJI Mini series. Lightweight glass, precise gimbal balance, includes protective case. Essential for proper exposure control.
A landing pad sounds unnecessary until you're trying to take off from gravel or sand. Debris gets sucked into motors during takeoff, and landing on uneven ground risks tipping. A 30-inch foldable pad costs $15 and saves your gimbal from a single bad landing.
Extra propellers. You will break them. Carry at least two sets. They're cheap ($10-$15 for four props) and easy to swap. A bent prop creates vibration, which ruins footage and stresses motors. Replace them at the first sign of damage.
MicroSD cards need to be fast. UHS-I Speed Class 3 (U3) minimum for 4K, V30 rating preferred. A slow card will drop frames or stop recording mid-flight. SanDisk Extreme or Samsung Evo Plus are reliable. Get 128GB or 256GB - 4K eats storage fast, and you don't want to delete clips in the field to free up space.
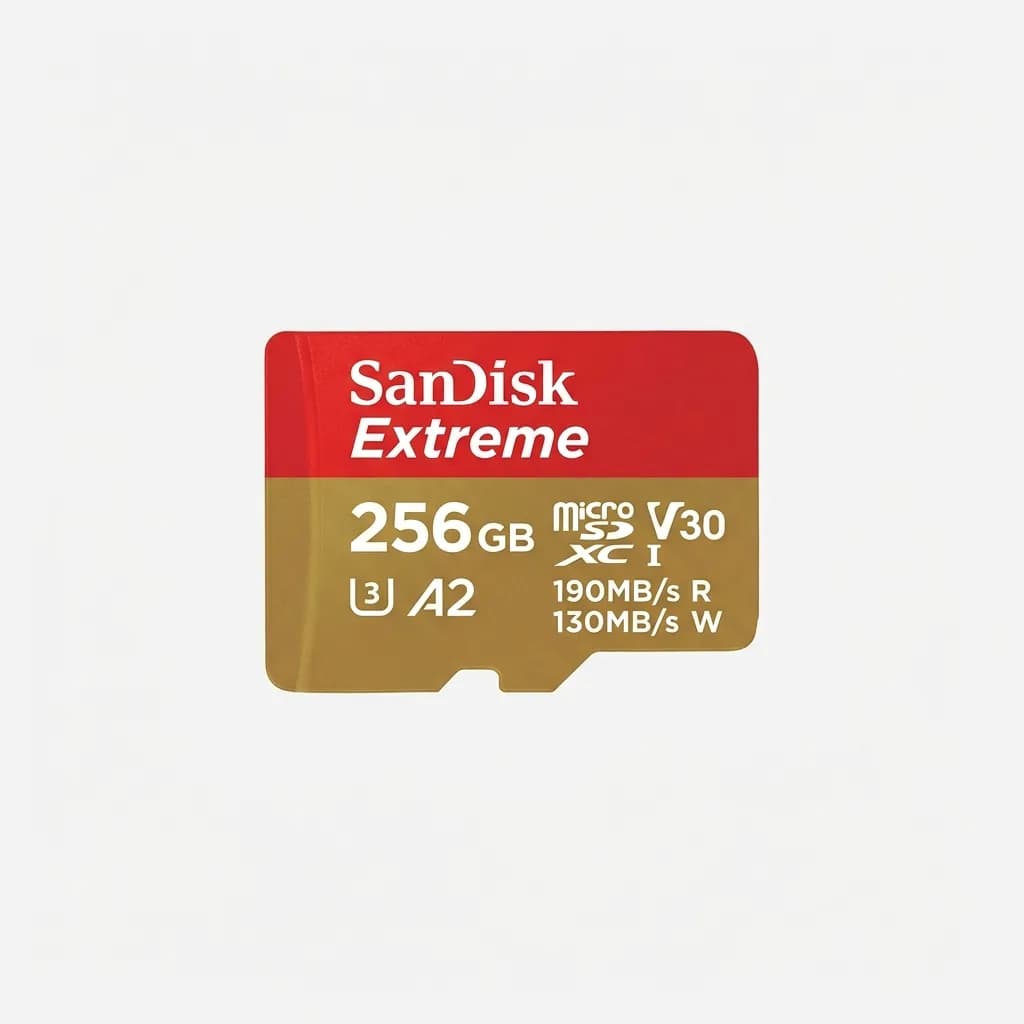
SanDisk Extreme 256GB microSDXC
$29
190MB/s read, 130MB/s write, U3 and V30 rated for 4K video. No dropped frames, proven reliability in temperature extremes.
A compact case protects your investment and makes transport easier. Hard-shell cases with custom foam inserts prevent props from breaking in your bag. Look for space for extra batteries and accessories. Some drone bundles include cases, but aftermarket options often fit gear better.
Common beginner mistakes and how to avoid them
Flying in sport mode before you're comfortable in normal mode. Sport mode disables obstacle sensing and makes the drone more responsive. It's for experienced pilots chasing fast subjects. You'll overshoot your framing and increase crash risk.
Ignoring the low-battery warning. Drones calculate return-to-home distance based on current wind conditions and altitude. If you push past the warning, the drone might auto-land wherever it is, which could be water, a roof, or moving traffic. When it says return home, do it.
Not checking the gimbal before launching. Debris, a shifted ND filter, or a calibration error can leave your gimbal pointing at the wrong angle. You won't notice until you're airborne, and by then you've wasted a battery cycle. Always do a quick camera check before takeoff.
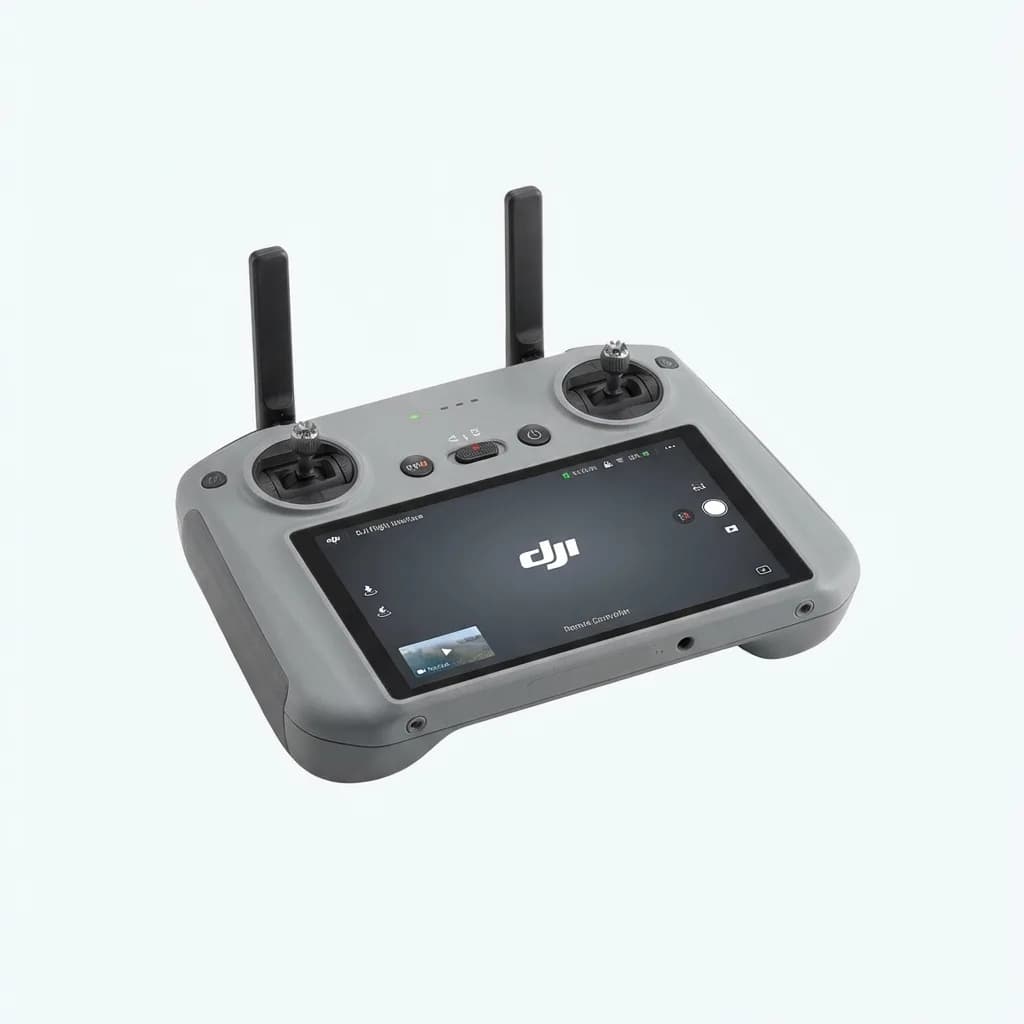
DJI RC 2 Remote Controller
$309
Integrated 5.5-inch touchscreen, OcuSync 4 transmission, supports Mini 4 Pro and Air 3. No phone mount needed, brighter display in sunlight.
Shooting everything at max altitude. Yes, you can fly 400 feet up, but most interesting shots happen much lower. Altitude flattens perspective and makes everything look small and distant. Get closer, fly through spaces, use foreground elements.
Not practicing in open space first. Your first dozen flights should be in an empty field, not a crowded beach or urban canyon. Learn how the controls feel, how wind affects drift, and how quickly the drone responds. Build muscle memory before you add obstacles and pressure.
Where to learn and improve after your first flights
YouTube has endless drone tutorials, but quality varies wildly. Channels worth following: Original Dobo for cinematic techniques, Billy Kyle for DJI-specific tutorials, and Potato Jet for gear reviews and real-world shooting. They show finished footage alongside flight techniques, so you see what actually works.
Practice specific shots repeatedly. Pick one maneuver - say, a smooth orbit - and do it 20 times in one session. Adjust speed, radius, and altitude until it's consistent. Then move to the next technique. Random exploration feels productive, but deliberate practice builds actual skill faster.
Join local drone groups. Facebook and Reddit have active communities where people share locations, tips, and warnings about enforcement. You'll learn which parks allow drones, which beaches have seasonal restrictions, and where to avoid based on recent experiences. Crowdsourced knowledge beats official maps for practical details.
Edit your footage ruthlessly. Nobody wants to watch three minutes of you ascending slowly. Pull the best 10-15 seconds from each flight, cut together a sequence, add music. Seeing your work edited shows you what's actually compelling and what's just "cool because I flew a drone." That feedback loop makes you better faster.
The gap between beginner and intermediate isn't about gear upgrades. It's about understanding light, composition, and movement well enough that the drone becomes a tool instead of a toy. That takes time in the air, mistakes, and honest assessment of what works. Start simple, fly often, and don't skip the boring stuff like airspace checks and pre-flight calibration. Those fundamentals separate people who get great shots from people who just own expensive equipment.
The Weekly Dispatch
Enjoying this article?
Subscribe and get our best gear picks delivered every Sunday morning.
Related Stories
ND Filters Explained for Beginners
Learn how ND filters control light, what the stop numbers mean, and which filter strength you actually need for photography and video work.
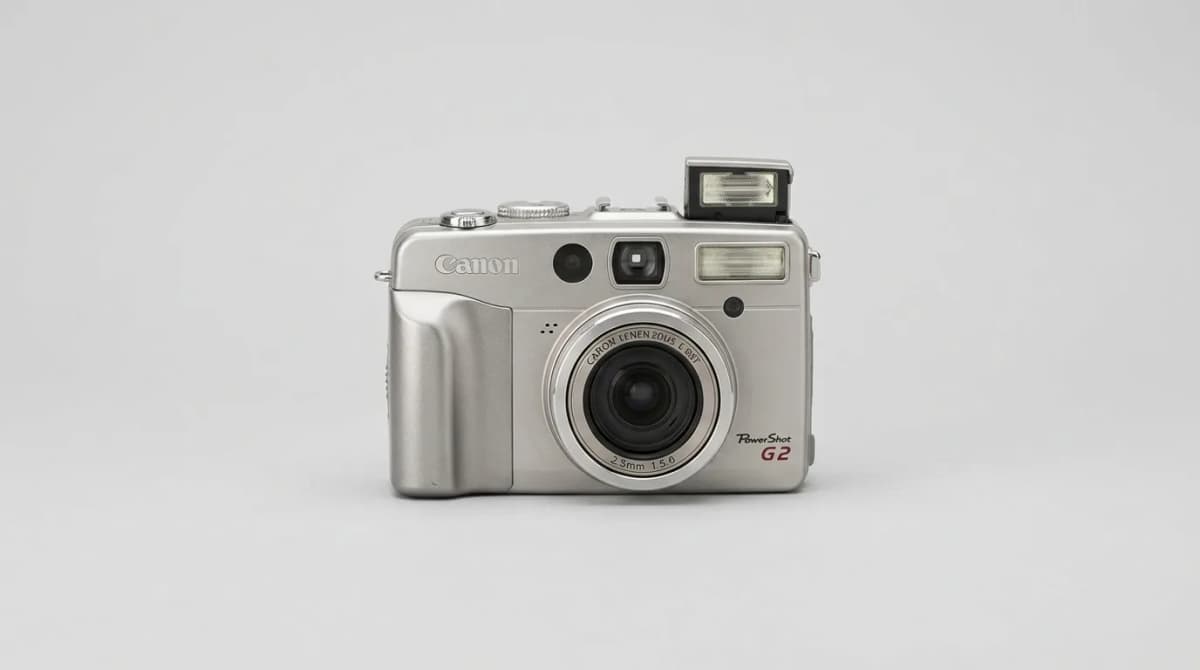
The Vintage Digicam Trend Explained
Vintage digital cameras from the early 2000s are making a comeback. Here's why photographers are ditching their smartphones for grainy, low-res digicams.
Small Prime Lenses for Travel: Why They Beat Zooms
Small prime lenses deliver sharper images and better low-light performance than zoom lenses while saving critical weight in your travel kit.